Install IBM IHS on AIX System
1) Create logical file system /IBM (or other name)
2) Download the following installation files from IBM WebSite
- C1G2NML.tar.gz (WebSphere Supplements installation media)
3) Download the following FixPack files from IBM website.
Fixpacks
7.0.0-WS-IHS-AixPPC32-FP0000017.pak
7.0.0-WS-PLG-AixPPC32-FP0000017.pak
4) install IHS silently with root user
- Log on the server as root
- In /IBM/IHS7
gunzip C1G2NML.tar.gz
tar –xvf C1G2NML.tar
- Go to directory /IBM/IHS7/IHS
- Run command "cp responsefile.txt responsefile.txt.bak"
- Edit responsefile.nd.txt and set the following value
-OPT silentInstallLicenseAcceptance="true"
-OPT allowNonRootSilentInstall=false
-OPT installLocation="/IBM/HTTPServer"
-OPT createAdminAuth="true"
-OPT adminAuthUser="ihsadmin"
-OPT adminAuthPassword="ihsadmin"
-OPT adminAuthPasswordConfirm="ihsadmin"
-OPT runSetupAdmin="true"
-OPT createAdminUserGroup=true
-OPT setupAdminUser="ihsadmin"
-OPT setupAdminGroup="ihsgroup"
-OPT washostname="remote_was_host"
Uncomment the following options
-OPT disableOSPrereqChecking="true"
And comment all others options
- Run the following command to install IHS7.0 server
./install -options "responsefile.txt" -silent
See the log files in wpsuser home directory /home/wpsuser/ihslogs) for the installation status.
- After installation, go to directory /IBM/HTTPServer/bin, and check IHS version using "versionInfo.sh", we will see the version of HTTP Server is 7.0.0.0, go to directory /IBM/HTTPServer/Plugins/bin, and check WebSphere Plugins version using "versionInfo.sh", we will see the version of WebSphere Plugins version is 7.0.0.0
5) Install Update Installer 7.0.0.17 on the server
- Go to Directory /IBM/UPDI/
- Run the command "gunzip 7.0.0.17-WS-UPDI-AixPPC32.tar.gz" and "tar –xvf 7.0.0.17-WS-UPDI-AixPPC32.tar"
- Go to Directory /IBM/cd_software/UPDI/UpdateInstaller
- Run the command "cp responsefile.updiinstaller.txt responsefile.updiinstaller.txt.bak"
- Edit the file "responsefile.updiinstaller.txt" and set the following value
-OPT silentInstallLicenseAcceptance="true"
-OPT installLocation="/IBM/WebSphere/UpdateInstaller"
Uncomment the following options
-OPT disableOSPrereqChecking="true"
-OPT disableEarlyPrereqChecking="true"
Comment all other options
- Run the command "./install -options "responsefile.updiinstaller.txt" –silent" to install update installer
Or run this command to install:
./install -silent -OPT silentInstallLicenseAcceptance=true -OPT allowNonRootSilentInstall=true -OPT disableOSPrereqChecking=true -OPT installLocation=/IBM/WebSphere/UpdateInstaller
- Go to Directory /IBM/WebSpehre/UpdateInstaller to check Update Installer version, it should be "7.0.0.17
6) Install IHS and WebSphere Plugins fixpacks using Update Installer
- Go to Directory /IBM/WebSphere/UpdateInstaller/responsefiles
- Run the command "cp install.txt installIHS.txt" and "cp install.txt installPLG.txt"
- Edit installIHS.txt as the following:
-W maintenance.package="/IBM/fixpack/7.0.0-WS-IHS-AixPPC32-FP0000017.pak"
-W product.location="/IBM/HTTPServer"
- Edit installPLG.txt as the following:
-W maintenance.package="/IBM/fixpack/7.0.0-WS-PLG-AixPPC32-FP0000017.pak"
-W product.location="/IBM/HTTPServer/Plugins"
- Go to Directory /IBM/WebSphere/UpdateInstaller/bin, run the following command to apply the fixpacks
./update.sh -options responsefiles/installIHS.txt –silent
./update.sh -options responsefiles/installPLG.txt –silent
Monitor /IBM/WebSphere/UpdateInstaller/logs/tmp/updatelog.txt for updating status.
- Go to Directory /IBM/HTTPServer/bin and /IBM/HTTPServer/Plugins/bin, run the command "versionInfo.sh" to check that both version should be 7.0.0.17.
- After installation, go to /IBM, run the following command to grant the permission
"chmod –fR 755 /IBM/HTTPServer", "chown –fR wasuser:wasgroup /IBM/HTTPServer"
- Go to /IBM/HTTPServer/conf, edit httpd.conf and update the following values
User wasuser
Group wasgroup
- Go to /IBM/HTTPServer/bin, and run "adminctl start" and "apachectl –k start" to start IHS server.
Configure IHS Web Server on WAS or WPS
After installing IHS Web Server, we need to create a web server on WAS so that the application deployed on WAS server can be mapped to web server.
- Logon to server WAS_HostServer with user "wasuser", the user is used to run WebSphere Application Server instances
- Go to directory /IBM/WebSphere/AppServer/bin
- Download the file "configurewebserver1.sh" from IHS_HostServer, the file is at /IBM/HTTPServer/Plugins/bin
- Edit the last line configurewebserver1.sh like this:
./wsadmin.sh $PROFILE_NAME_PARAMETER $WSADMIN_USERID_PARAMETER $WSADMIN_PASSWORD_PARAMETER -f $WAS_HOME/bin/configureWebserverDefini
tion.jacl webserver1 IHS '/IBM/HTTPServer' '/IBM/HTTPServer/conf/httpd.conf' 80 MAP_NONE'/IBM/HTTPServer/Plugins' unmanaged webserver1-node blue-devweb01.mtsallstream.com aix 8008 ihsadmin $IHS_ADMIN_PASSWORD_PARAMETER
I recommend to use "MAP_NONE" to replace "MAP_ALL".
- Run the shell script
configurewebserver1.sh cellName userid userpassword ihsadmin
userid and userpassword should be specified if global security is enabled.
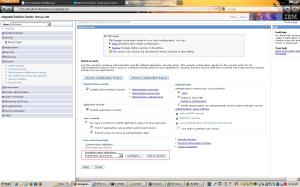
- logon to administrative console, then synchronize the nodes
- Go to servers->server Types-> web servers, if the web server is running on IHS_Host, then the server status is running
- if webserver1 status is stopped, we can start the web server1 through administrative console if http admin process is running on blue-devweb01.
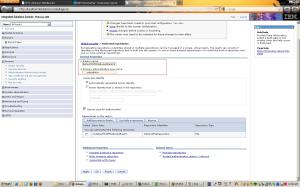
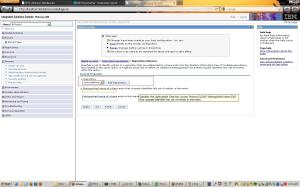
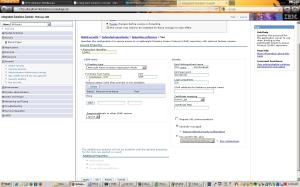
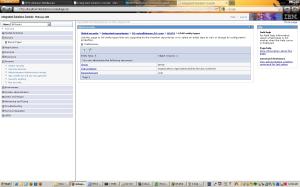
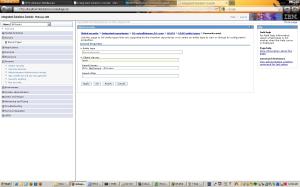
- Make the ihsadmin username and password is entered. Click "webserver1", then click "Remote Web server management" at the right side. assure the port number, username and password are correct
- Then select "webserver1" and click "Start" button to start web server, the server should be started.
- Select "webserver1" and click "Generate Plug-in", and then select "webserver1" again and click "Propagate Plug-in". we may see the following error:
"PLGC0049E: The propagation of the plug-in configuration file failed for the Web servers xxxxxxxxxx
- the reason why it happened it because the permission issue
- logon to server IHS_Host with user "wasuser"
- go to directory /IBM/HTTPServer/Plugins/config/webserver1
- make sure plugin-cfg.xml permission is 755 or 664
- go to directory /IBM/HTTPServer/conf
- edit the conf file admin.conf as following:
User wasuser
Group wasgroup
- switch to root user
- Go to directory /IBM/HTTPServer/bin
- restart admin process: ./adminctl stop and ./adminctl start
- the issue should be solved.a
