1.1 RHEL Package Requirements
| Oracle HTTP Server 11g 32-Bit RHEL Packages | ||
| Sr.No. | Package | Justification |
| 1 | gcc-4.1.0-28.4 | OHS installation package dependency. |
| 2 | gcc-c++-4.1.0-28.4 | OHS installation package dependency. |
| 3 | setarch-1.6-1 | OHS installation package dependency. |
| 4 | sysstat-5.0.5-1 | OHS installation package dependency. |
| 5 | libstdc++-4.1.0-28.4 | OHS installation package dependency. |
| 6 | libstdc++-devel-4.1.0-28.4 | OHS installation package dependency. |
| 7 | compat-libstdc++-296-2.96-132.7.2 | OHS installation package dependency. |
| 8 | compat-db-4.1.25-9 | OHS installation package dependency. |
| 9 | control-center-2.8.0-12 | OHS installation package dependency. |
| 10 | glibc-common-2.3.4-2.9 | OHS installation package dependency. |
| 11 | binutils-2.16.91.0.5-23.4 | OHS installation package dependency. |
| 12 | make-3.80-202.2 | OHS installation package dependency. |
| 13 | elfutils-devel | OHS installation package dependency. |
| 14 | glibc-devel | OHS installation package dependency. |
| 15 | libaio-0.3 | OHS installation package dependency. |
| 16 | libaio-devel-0.3 | OHS installation package dependency. |
1.2 RHEL System File Requirements
| Oracle Fusion Middleware RHEL System Files | ||
| File | Add/Change | Justification |
| /etc/security/limits.conf | oracle soft nofile 4096oracle hard nofile 65536 | Append the required Kernel Parameters for proceeding OHS 11g Installer. |
1.3 IP Table Requirements
| OFM IP Server Table Requirements | |||
| Port | Protocol UDP/TCP | Source IP/Network | Destination IP/Network |
| 7777 | TCP | OHS Install Server | Local Secure Network |
| 4443 | TCP | OHS Install Server | Local Secure Network |
1.4 Oracle HTTP Server 11g 32-Bit Web Server Installation 1)
1) The Silent Install feature works on the principle of reading an input file which contains all parameter values required during installation, processing these values, and then applying these values automatically. This process of installation avoids almost all human interaction with the system during the installation process – via GUI or command line.
2) The Silent Installation process necessitates editing the input file – called a "Response File" – with the applicable parameter values. This section describes the process of Silent Installation, and highlights the parameters that should be changed per environment as applicable.
3) The input parameter file – called a Response File – have to be edited. The default Response Files are located in the installation directory (eg: /u01/OHS_32Bit/Disk1/stage/Response/) on the Linux server.
4) Use the following embedded file as your input Response File: WebTierInstallAndConfigure.rsp.
This has been optimized to use only those parameters applicable for an OHS 11g installation. Please edit the parameter values listed in Table: WebTierInstallAndConfigure parameters.
After the changes, this file has to be copied to the default installation location (as specified above), replacing the existing file.
5) Edit the following parameter names with values provided in the table below
Table 1: WebTierInstallAndConfigure parameters
| Sl No | Response File Parameter Name | Sample Value |
| 1. | INSTALL AND CONFIGURE TYPE | true |
| 2. | INSTALL AND CONFIGURE LATER TYPE | false |
| 3. | ORACLE_HOME | /u01/app/oracle/product/ohs |
| 4. | INSTANCE_HOME | /u01/app/oracle/product/ohs/instances/instance1 |
| 5. | INSTANCE_NAME | instance1 |
| 6. | AUTOMATIC_PORT_DETECT | true |
| 7. | CONFIGURE_OHS | true |
| 8. | CONFIGURE_WEBCACHE | false |
| 9. | OHS_COMPONENT_NAME | ohs1 |
| 10. | ASSOCIATE_WEBTIER_WITH_DOMAIN | false |
Tip: This module is to be executed on the OHS 32-Bit Server.
6) Create the oraInst.loc File:
The installer uses the Oracle inventory directory to keep track of all Oracle products installed on a system. Location of the Inventory Directory is specified in a file named oraInst.loc. This file is created when the first Oracle product is installed in a system. If this file does not already exist on the system, you must create it before starting the OHS installation.
7) Perform the following steps to create the oraInst.loc file (only if it does not exist):
a) Log in as the root user.
b) Using a text editor such as vi, create the oraInst.loc file in /etc by updating the required parameters with valid values.
Figure 1 : Create oraInst.loc
8) On the OHS 11g installer directory, issue the following command to run silent installation.
./runInstaller –silent responseFile <Installer Location>/Disk1/stage/Response/ WebTierInstallAndConfigure.rsp
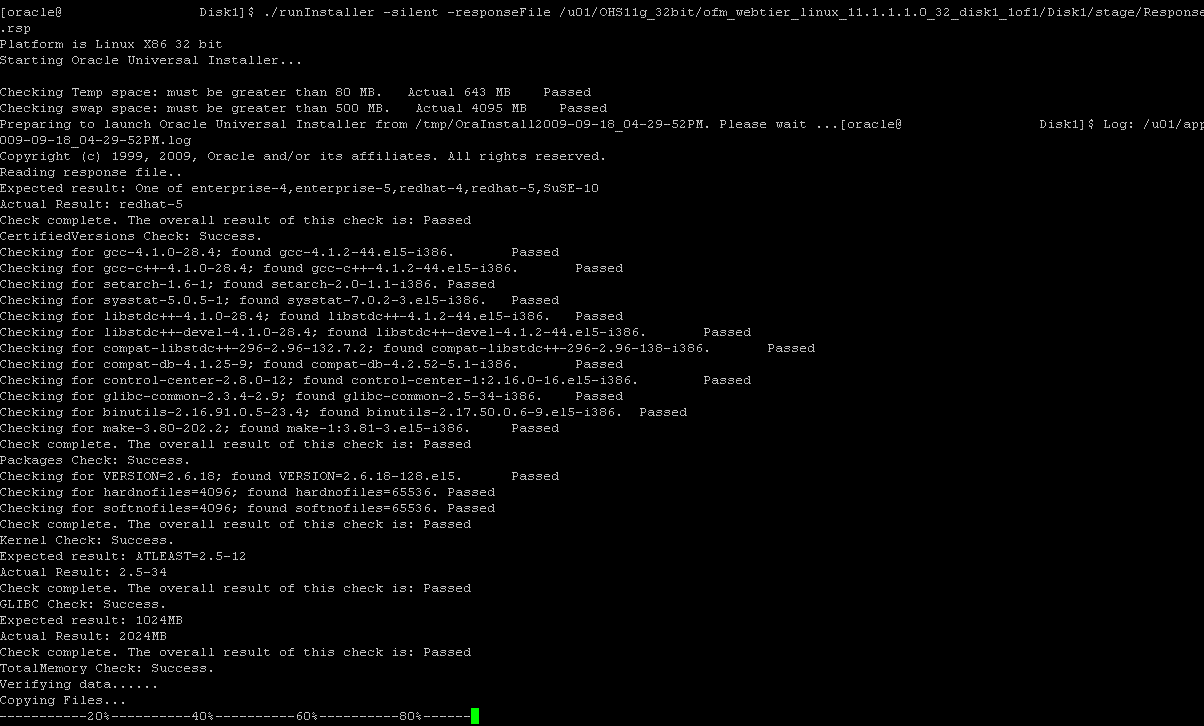
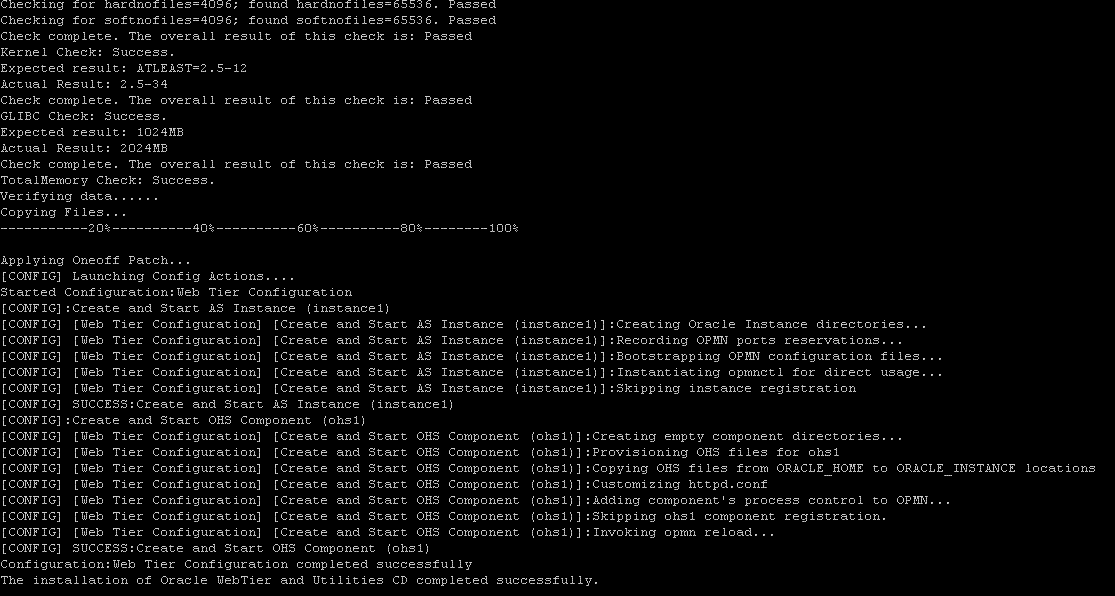
9) The silent installation and configuration should proceed as depicted in the screen print below.
Figure 2 : OHS Installation Pre-requisites Check In Progress
Figure 3 : OHS Installation Completes Successfully.
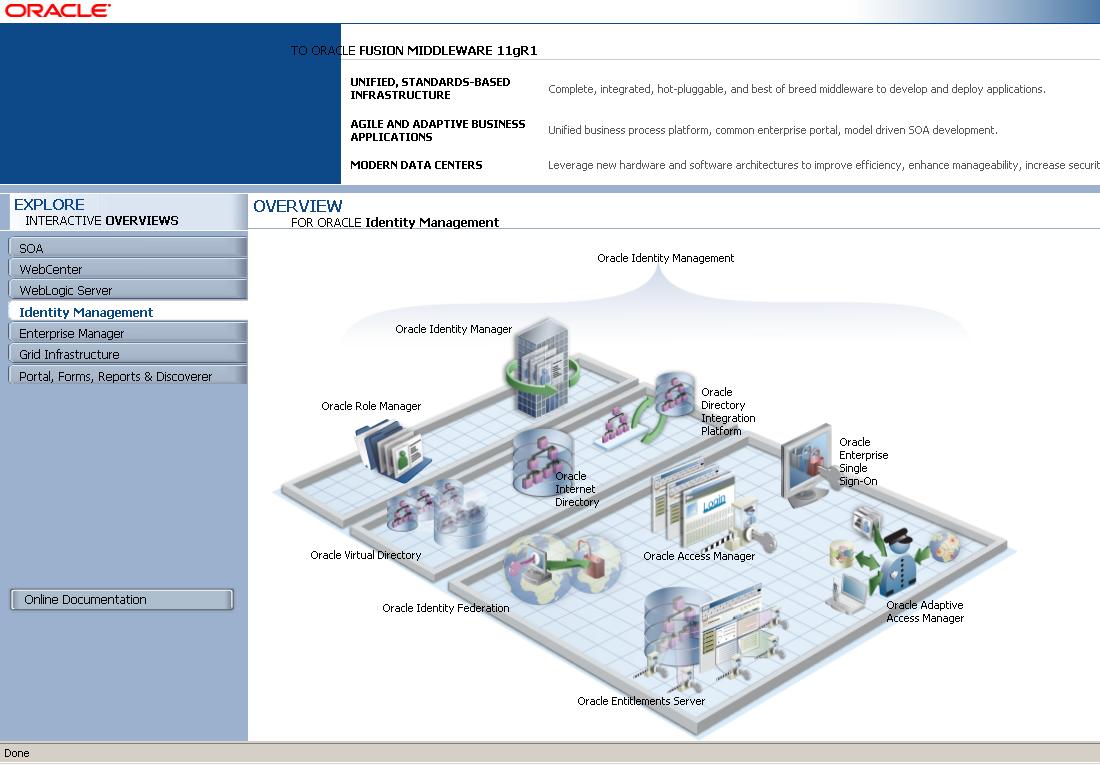
10) Test OHS11g Web Server page is by accessing URL (http://<OHS-32Bit-OAMWebPass-FQDN>:7777/) should depict in the screen shot below.
Figure 4 : OHS 11g Test Page Screen


